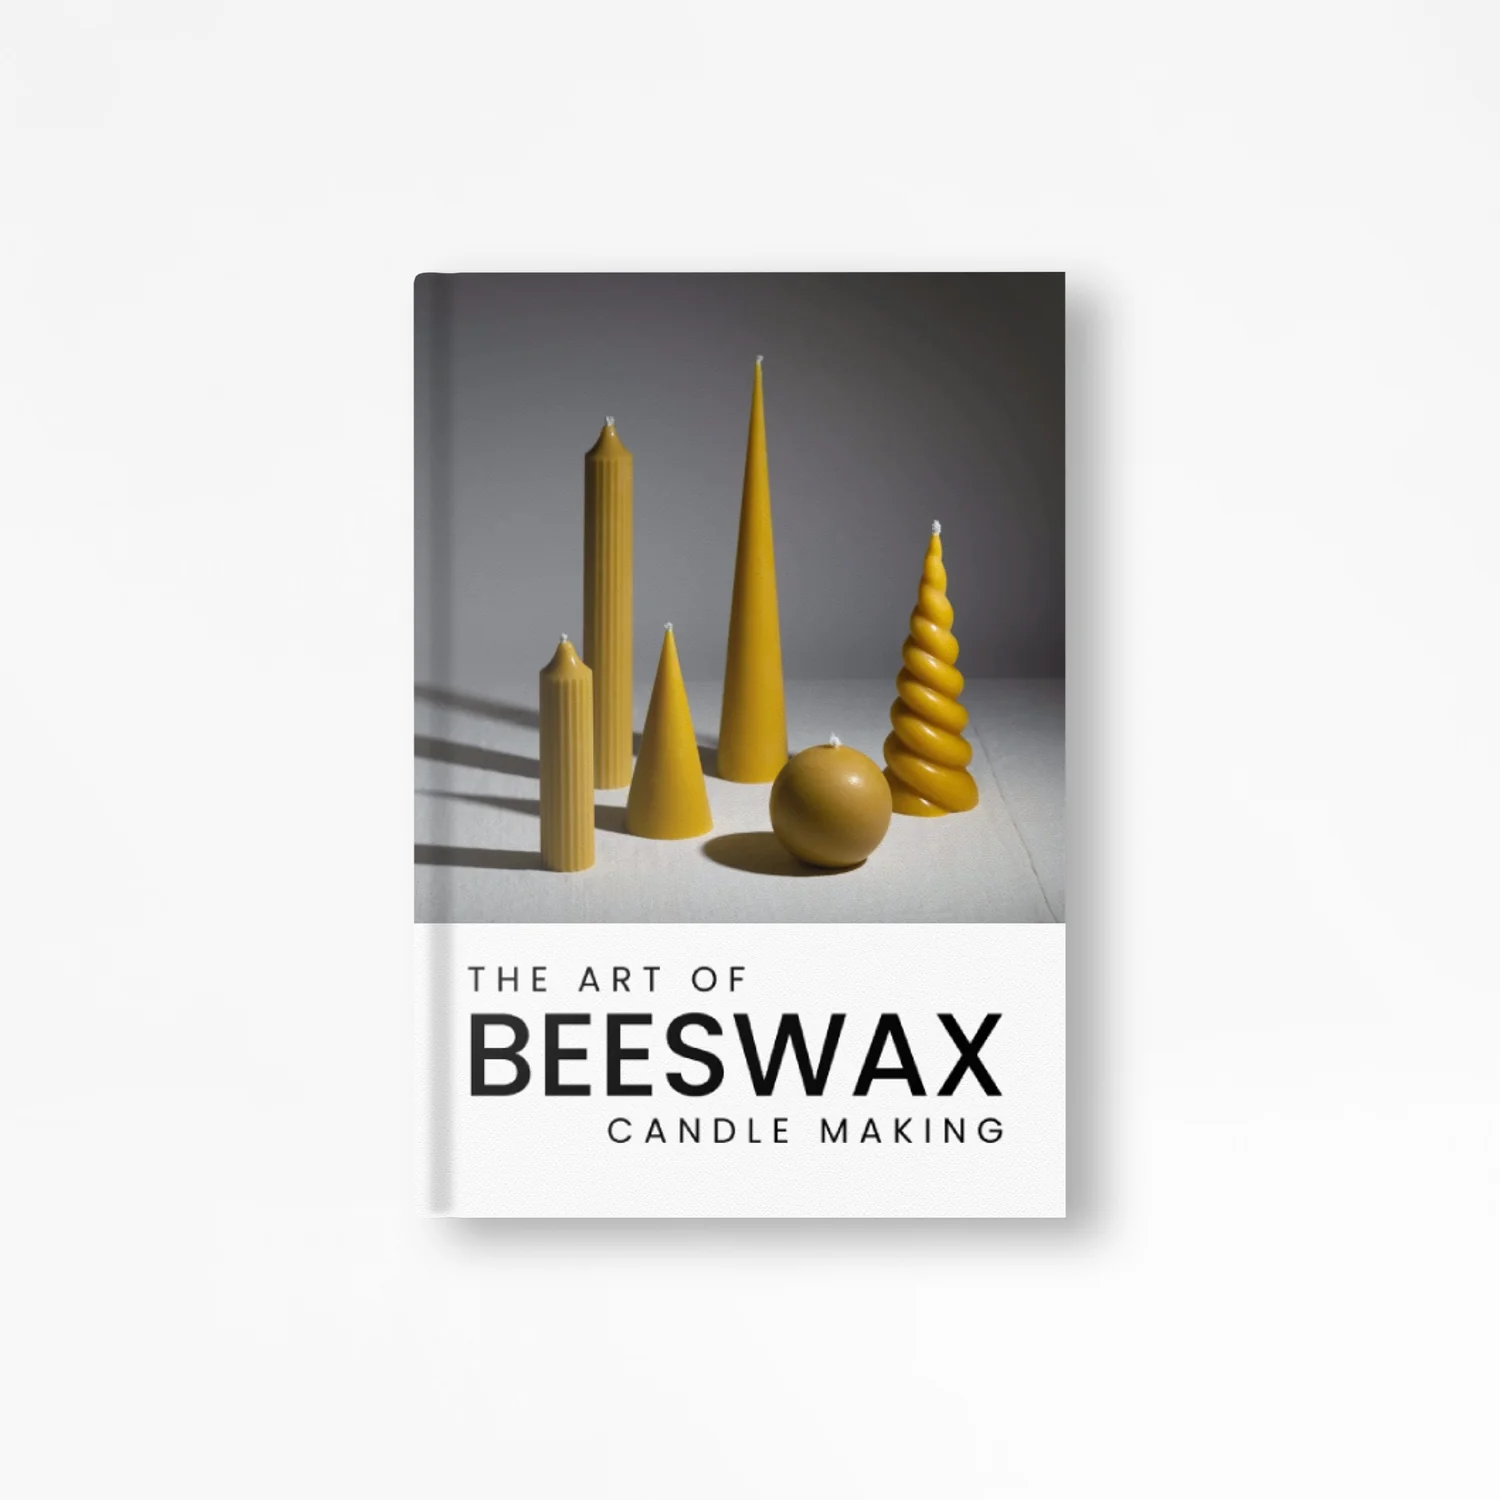
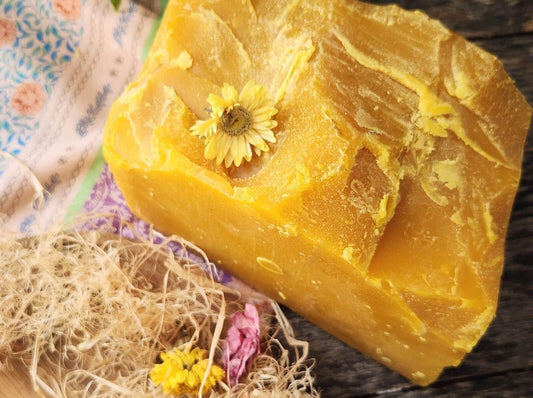
If you're looking for a natural and gentle soap that cleanses and nourishes your skin, you're in the right place. In this article, we'll walk you through a simple step-by-step process to create your very own beeswax soap. Experience the benefits of beeswax as it moisturises and protects your skin, leaving it soft and radiant!
Why Choose Beeswax Soap?
Beeswax soap offers a host of benefits for your skin. It is rich in natural emollients that lock in moisture, preventing dryness and promoting a healthy glow. The soothing and anti-inflammatory properties of beeswax make it suitable for all skin types, including sensitive skin. By making your own beeswax soap, you have control over the ingredients, ensuring a chemical-free and personalised cleansing experience.
Ingredients for Beeswax Soap
Before we dive into the recipe, let's gather the ingredients you'll need:
- Beeswax: 2 ounces
- Coconut oil: 8 ounces
- Olive oil: 8 ounces
- Castor oil: 2 ounces
- Distilled water: 6 ounces
- Lye (sodium hydroxide): 2.3 ounces
- Essential oil (e.g., lavender, tea tree, or peppermint): a few drops (optional)
Step-by-Step Instructions
Follow these easy steps to create your own beeswax soap:
- Put on protective gloves, goggles, and clothing to ensure safety while working with lye.
- In a well-ventilated area, carefully add lye to distilled water, stirring until dissolved. Allow the mixture to cool.
- In a double boiler, melt beeswax, coconut oil, olive oil, and castor oil until fully combined.
- Once the oils and beeswax mixture have cooled to around 100°F (38°C), slowly pour the lye mixture into the oils, stirring continuously.
- Continue stirring until the mixture reaches a light trace, resembling the consistency of pudding.
- If desired, add a few drops of your favourite essential oil for a pleasant fragrance and stir well.
- Pour the soap mixture into soap molds and tap gently to remove any air bubbles.
- Allow the soap to cure in the molds for 24 to 48 hours.
- Once cured, gently remove the soap from the molds and let it air dry for 4 to 6 weeks, turning it occasionally to ensure even drying.
- Your homemade beeswax soap is now ready to use and enjoy!
Tips for Using Beeswax Soap
Here are a few tips to make the most of your homemade beeswax soap:
- Store the soap in a cool, dry place to extend its shelf life.
- Use a soap dish or soap saver to allow the soap to dry between uses, preventing premature melting.
- Enjoy the gentle cleansing and moisturizing properties of the beeswax soap for your face, body, and hands.
- If you experience any skin irritation, discontinue use and consult a dermatologist.
- Experiment with different essential oils to customize the scent of your soap.
Conclusion
By following this DIY beeswax soap recipe, you can create a natural and nourishing soap that leaves your skin feeling clean, moisturized, and refreshed. Experience the benefits of beeswax as it protects and rejuvenates your skin, all while enjoying the satisfaction of making your own personalized soap. Say goodbye to harsh chemicals and embrace the beauty of all-natural skincare with beeswax soap!


