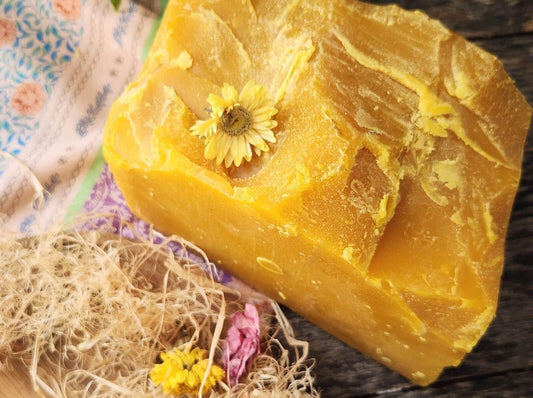
Beeswax wraps are fabric coated with pure beeswax along with other ingredients such as jojoba oil and pine resin. Since they are mouldable, they can be used for sealing and packaging food. You can use them either to cover the food containers and bowls or to wrap the food directly. Beeswax wraps are the best alternative to single-use plastic as they are non-toxic, reusable, and biodegradable.
Choose the fabric for beeswax wraps wisely
Beeswax wraps should be made from 100% cotton, linen fabric, or hemp. Natural fabrics are the best as they readily soak the beeswax directly into the fabrics. The suggested sizes for beeswax wraps are as follows:
- Small: 7 by 7 inches or 8 by 8 inches. It can be used to cover small items such as fruits, mason jar top, or cut portions of cucumber.
- Medium: 10 inches or 11 inches square. It is the best for covering half sandwiches, average bowl size, and small to medium-sized vegetables.
- Large: 13 inches or 14 inches square. It can cover a medium mixing bowl, small baking dish, full sandwich, or average pie pan.
- Extra-large: 16 inches or more. It is used for covering full bread loaves, baking dishes, or large bowls.
DIY steps for making your own beeswax wraps
The materials you need to make your own beeswax wraps are
- 100% cotton fabric
- Beeswax pellets
- Pinking shears/Scissors
- Brush
- Iron/Oven
- Baking sheet
- Parchment paper
- Ruler (optional)
- Binder clips (optional)
- Hanger (optional)
Steps you need to follow are:
1. Prepare the fabric.
After washing and drying the fabric chosen, cut it into desired size or shape using scissors that fit on your baking sheet. You can also use pinking shears for cutting the fabric to reduce fraying. Then lay it flat on the baking sheet with parchment paper.
2. Sprinkle pellets
Sprinkle beeswax pellets wisely and evenly all over the fabric, determining the thickness of the wrap. Make sure to remove pellets from the edges of the fabric. Cover it with another baking sheet.
3. Prepare for the iron/oven.
Use an iron set at low temperatures or preheat the oven from 150 degrees Fahrenheit to 200 degrees Fahrenheit for around 5 minutes. You can line the baking tray with parchment paper and put the fabric over it.
4. Melt and spread.
Heat the fabric to melt and spread the beeswax evenly, pushing it to the edges. If gaps still remain, you can sprinkle more wax and then iron or preheat it in the oven.
5. Hang it out.
Let the beeswax wrap cool down, naturally hanging it using hangers. Then you can peel off the baking sheet put on it. Once dry, you can use them for packaging or storing food items.
****


